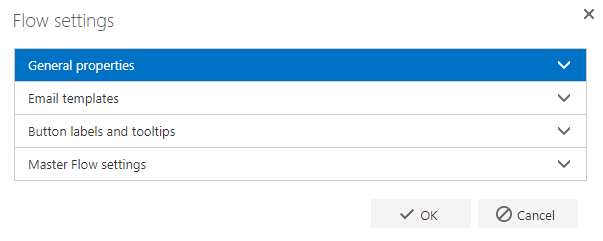
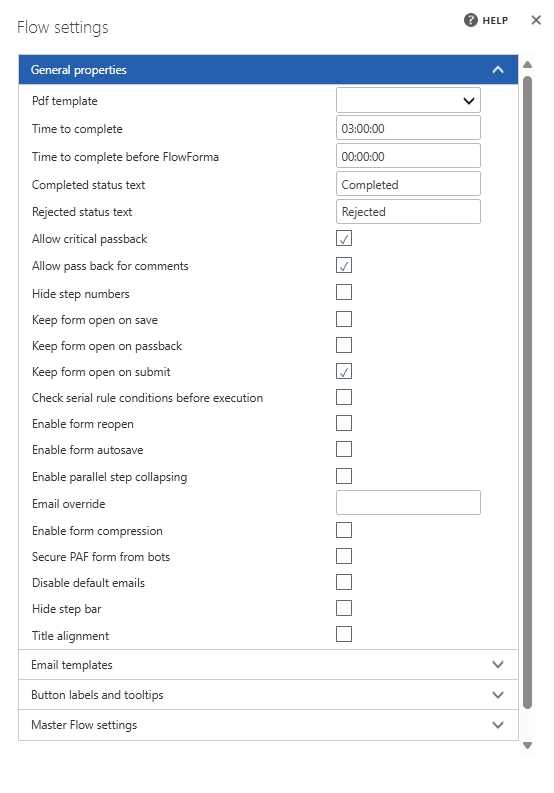
General properties
Email templates
There are a number of actions in the system that require the use of an email template. For each category, you can select the email template you want to use. The drop-down list contains all the templates available in the site’s Email templates library. When a new FlowForma site is created, standard email templates for rejecting a form (Reject email), passing back a form (Pass back email), delegating a form (Delegate email), and creating a reminder (Diarize email) are included. You can create new email templates, if required. As these settings are on a per-flow basis, you don’t need to use the same email templates for each flow. So if you delegate a form, the user/group you selected to delegate the form to will receive an email based on the “Delegate email” template.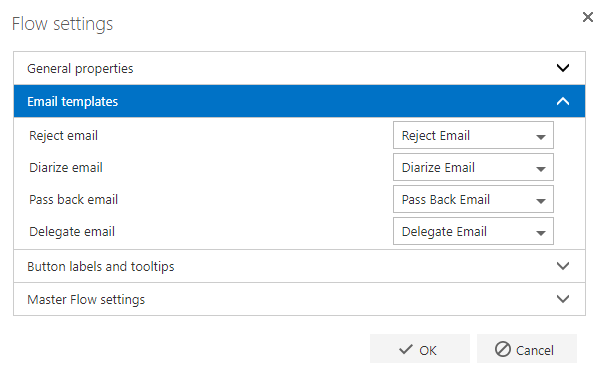
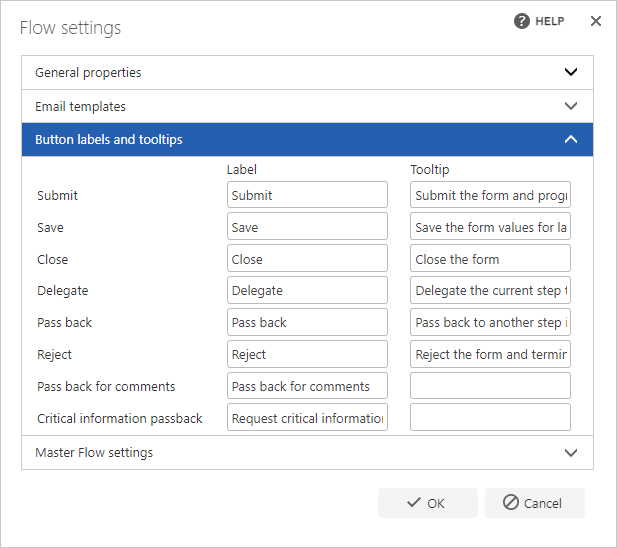
Button labels and tooltips


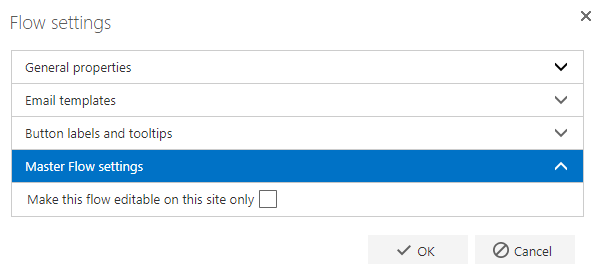
Master Flow settings