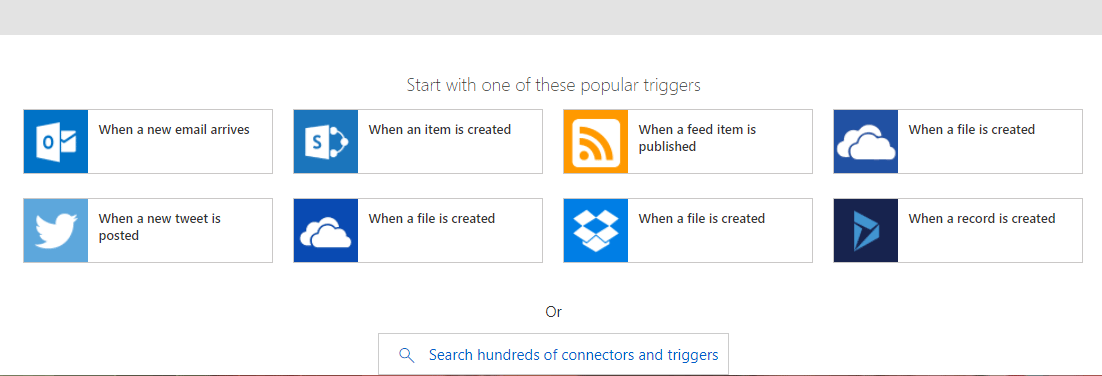
- when a new email arrives
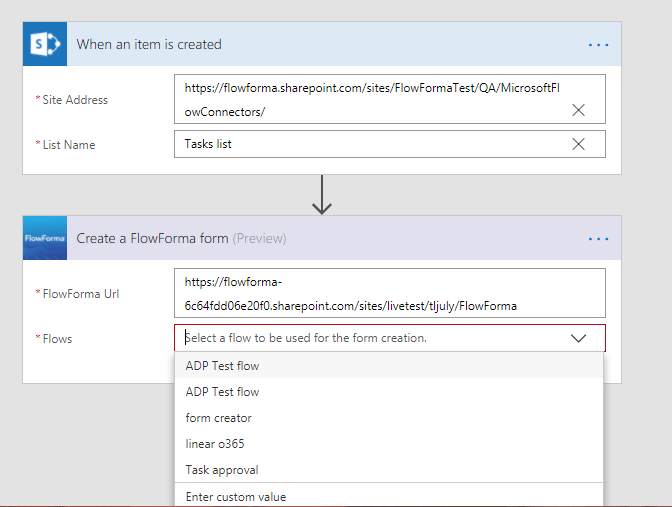
- when an item is created
- when a feed item is published
- when a file is created in OneDrive
- when a new tweet is posted
- when a file is created in DropBox
- when a record is created
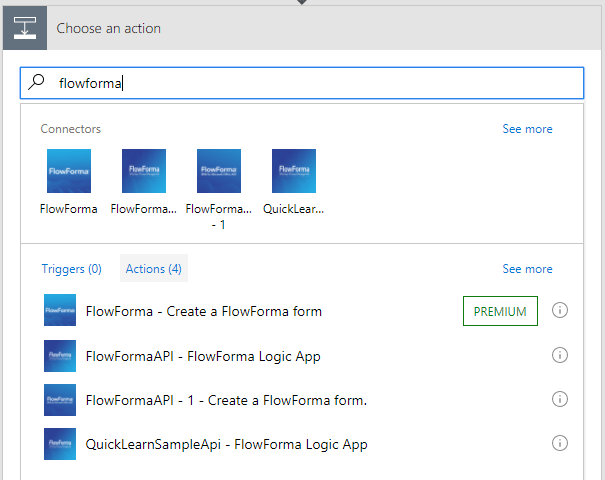
- Create your FlowForma flow in the FlowForma app. The questions in the flow that are populated from the trigger must be single line of text questions.
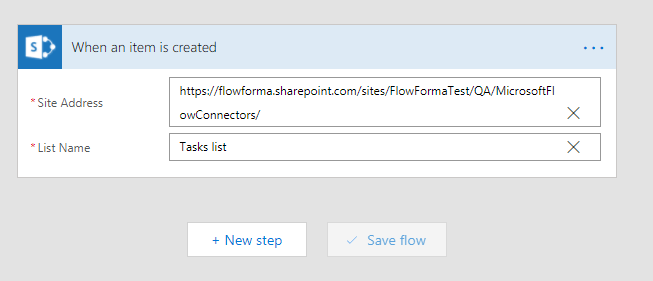
- Create your Power Automate flow by connecting to https://flow.microsoft.com

- site address: this is the URL of the site where you created the trigger list. You can select a site from the drop-down or enter a custom value.
- list name: this is the name of the trigger list. Once you have entered the site address, you can select the list from the drop-down or enter a custom value.
- Connection name: name the connection, as you might want to reuse it in other Power Automate flows.
- Username: in the format of an email address, this is the account you use in Office 365.
- Password: the password of the account used above.
- FlowForma url: the URL of the FlowForma app
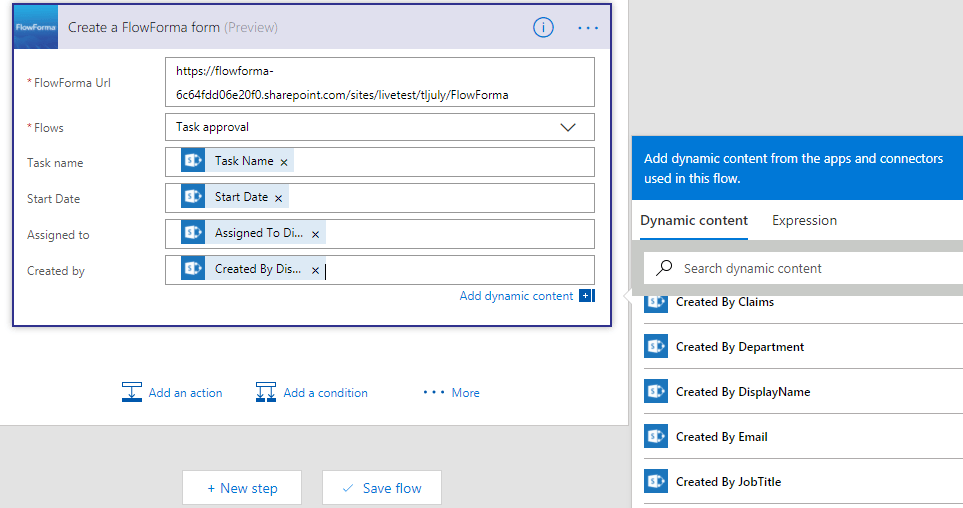
- Flows: once you enter the FlowForma app URL, you can select the flow from the drop-down or enter a custom value.