Title
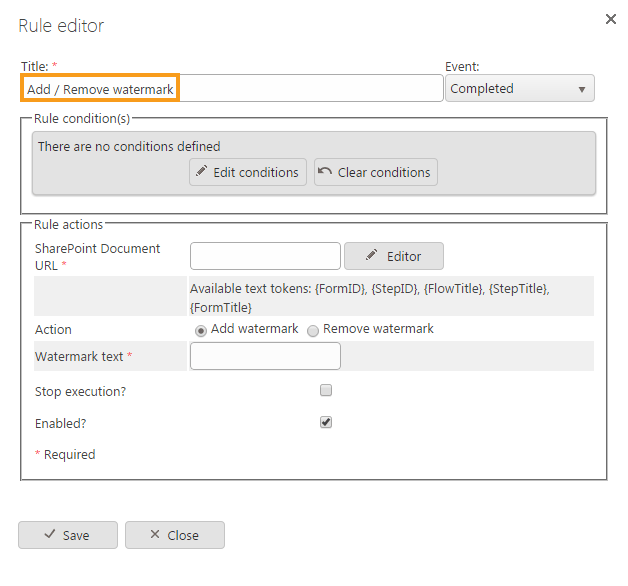
The first part of the business rule lets you define a title for your rule and select the event on which it operates. The default title is the standard FlowForma rule name; change it by deleting the text and entering your own. In the event field you determine when the rule is executed. For a flow this can occur when the form is loaded, started, or completed. For a step this can occur when the step is started, saved, or completed. For questions it can occur when the question is updated.Rule condition(s)
The second part of the business rule lets you set conditions. These are not required, but if entered they control when the rule is executed in relation to other items in the form.Rule actions
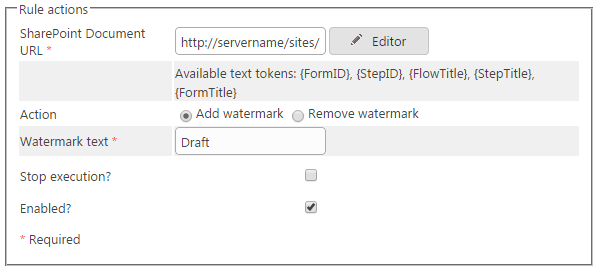
In the SharePoint Document URL you enter the location of the document that you wish to add a watermark to, or remove a watermark from. You can do this in two ways, depending on how the document was created and where it’s stored.- Where the document was created using the generate document rule, or is a standard document stored in a SharePoint library.
- FormID: the ID of the form used when the document was created
- StepID: the ID of the step where the document was created
- FlowTitle: the title of the flow used where the document was created
- StepTitle: the title of the step used where the document was created
- FormTitle: the title of the form used where the document was created
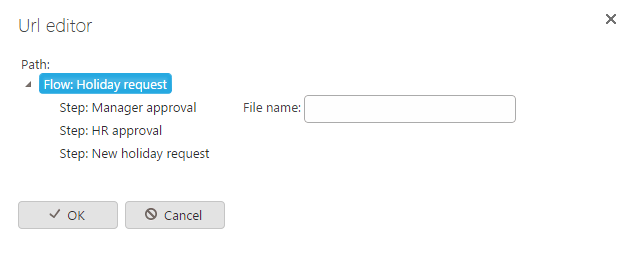
- If you use the default document library when a document is created, the URL you need to insert to open the document in Word is:
http://servername/sites/sitename/FormDocuments/Form{FormID}/steptitle/Form{FormID}.docx - In the flow properties, you may decide to add a form prefix. If so, you need to replace the word “Form” with the form prefix in the link. Let’s assume the form prefix is TRY; the URL becomes:
http://servername/sites/sitename/FormDocuments/TRY{FormID}/steptitle/TRY{FormID}.docx - If you generate the document from the template and decide to add a document suffix, you’ll need to add the suffix after “FormID” in the link. Following the previous example, if the suffix is “TEST”, the URL becomes:
http://servername/sites/sitename/FormDocuments/TRY{FormID}/steptitle/TRY{FormID}TEST.docx
- Where the document has been uploaded to the form using a file upload question.
- Select the relevant action: either Add watermark or Remove watermark.
- Enter the text you want to appear as the watermark text.

- Stop execution: if stop execution is enabled and this rule is executed, no other rules are executed.
- Enabled: rules aren’t saved to a list like questions and steps are, so if you want to stop a rule executing without deleting it, toggle this option to enable or disable the rule.
- Enable audit: if checked, a record is added to the audit trail when this rule is executed. This option is available when the Compliance feature pack is activated.