
- When you’re filling in a form, you can save along the way by clicking save. This doesn’t submit the form, so it won’t move to the next step or execute the step completed rules, but it will execute step saving rules, assuming conditions are met. You can then open the form again and add or update information. You can save even if mandatory fields haven’t been completed yet
- Once you have all the information in the form, you need to click submit; this will send the form to the next step
- If you want to exit the form without saving any changes, click close or the X button in the top right corner to exit. You’ll be prompted for confirmation before closing, unless no changes were actually made, in which case the form will just close
Note: The text on the buttons can be changed in the flows settings, so you may find that the buttons have different names.

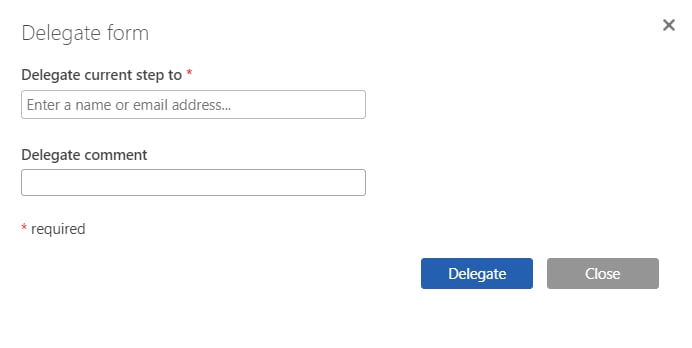
- If you want to assign someone else to take care of a step, you can delegate it. This allows you to select a person or group to delegate the step to and add a comment with further information.
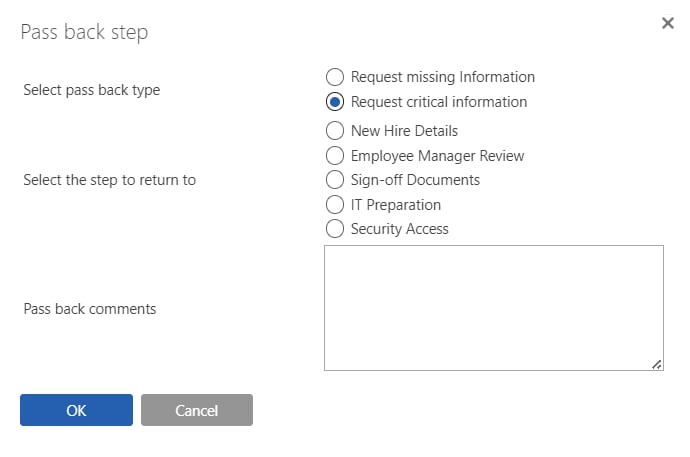
- If the flow has been created to permit pass back you can send the step back to a previous step. If non-required steps have been left blank and you need them completed, you can pass back to a previous step.
- If you reject a form, then the process ends there. The status of the form will be listed as rejected and you can open the form to see the detail, but you can’t make any changes.
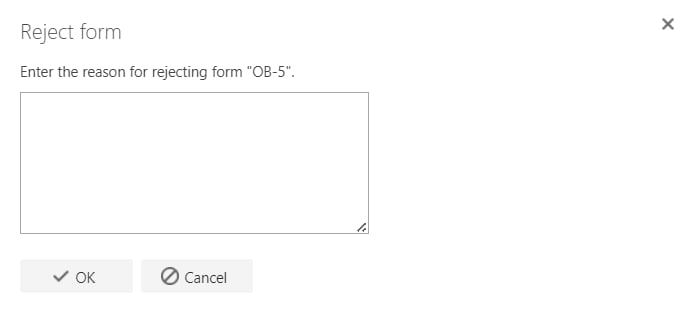
Note: The status of a rejected form can be changed in the flows settings, so you may find the status has a different value on your site.