Office 365 versus on-premise installation
For some processes, you may need to restrict access to the users to all the forms and especially if the data inside the form is confidential like a capex or a performance review flow. For on premise installations, the target audience is often used to define which users can see the forms created from all users. In Office 365, the target audience of a custom view can’t be changed. As a result, once the users are added to the default FlowForma generic users group, they can all access the “All Items” view which contains all the forms. To restrict permission to all forms, the public view “All Items” needs to be modified and personal views can then be created for administrators to view all items.Restrict permission to the default All Items view
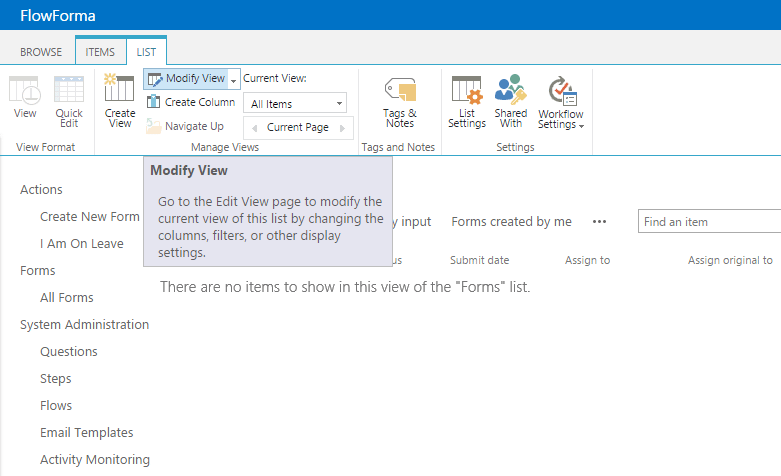
To change this view, you need to go to the All Items view:- Click on All Forms on the left ribbon; then click Modifiy View under the List tab in the top ribbon.
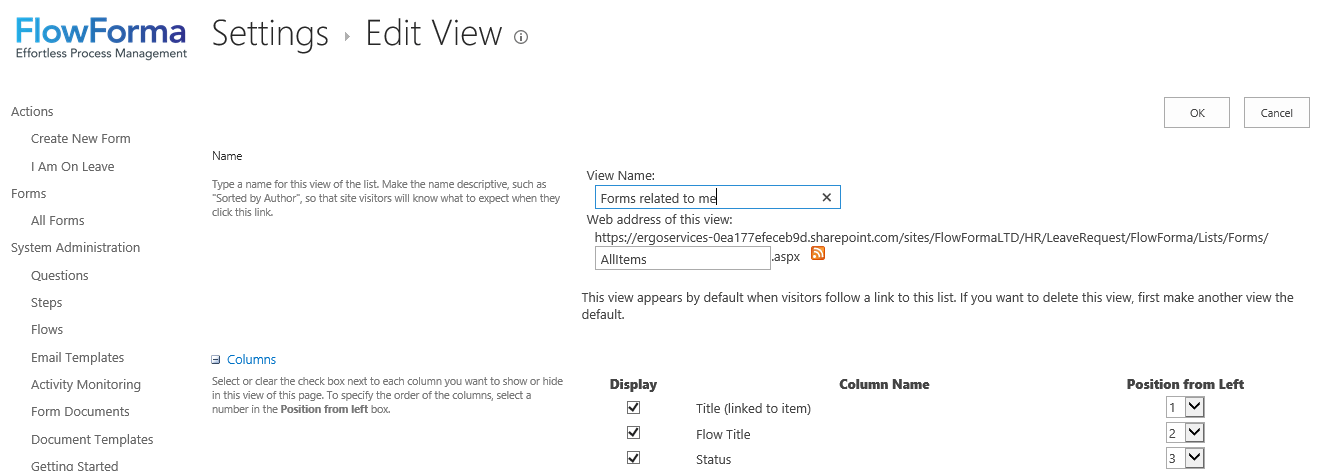
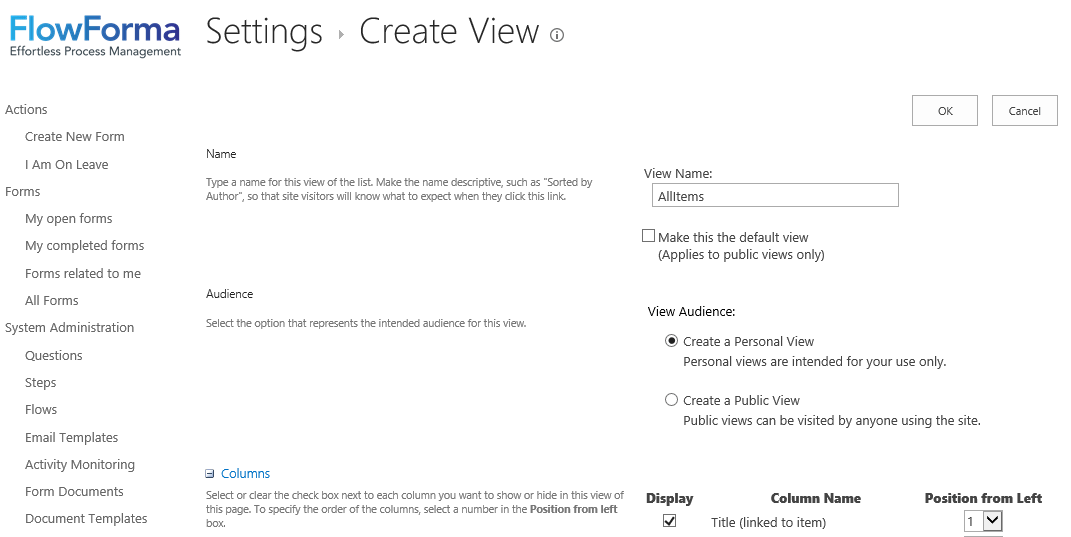
- Change the view name from All Items to for instance forms related to me.
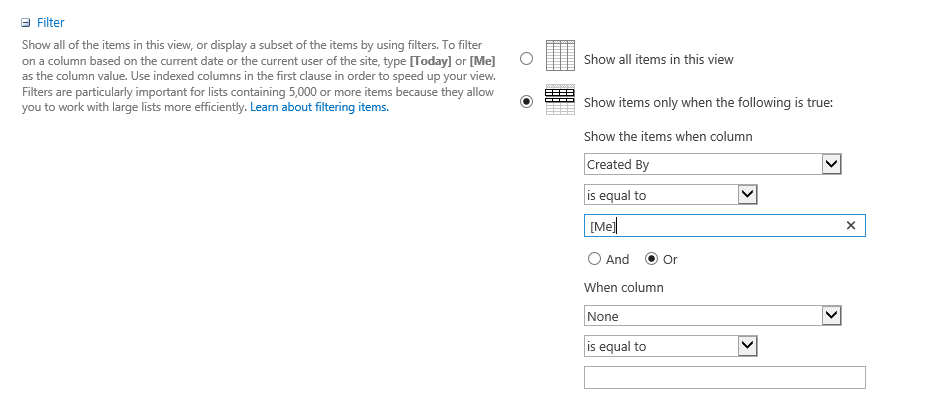
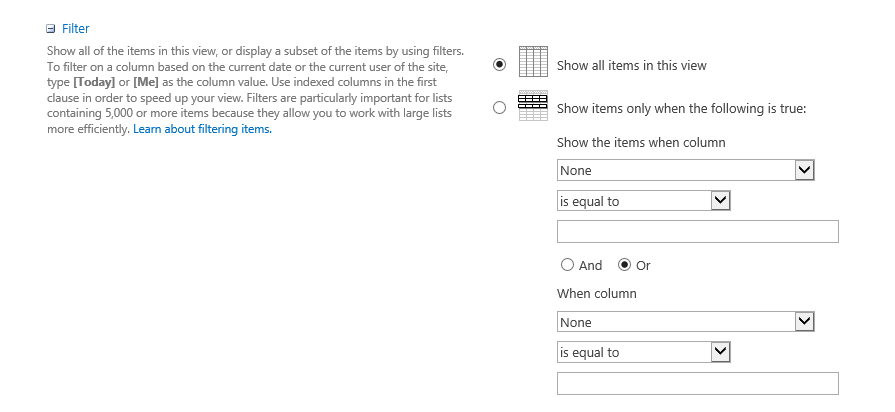
- Under the Filter section, select the option show items only when the following is true. In the drop-down below, you can select Created By or another published field related to users (example: employee name) and type [Me] to display only the items related to the user logged in.
- Click OK to save the changes.
Create personal views for Administrators
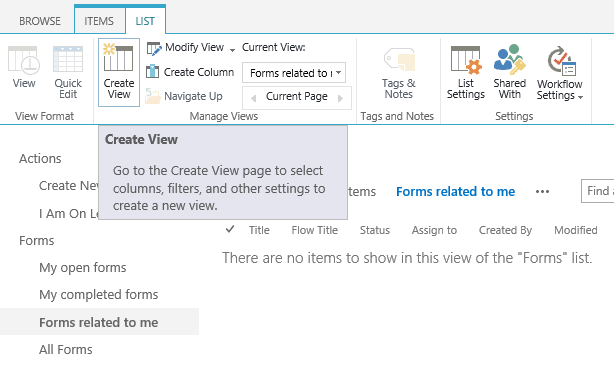
To create a view with all items visible only for an Adminstrator user, here are the steps you need to follow:- Log in with the adminstrator user account that needs to have access to all items and go to one of the custom views displaying Forms (forms related to me for instance).
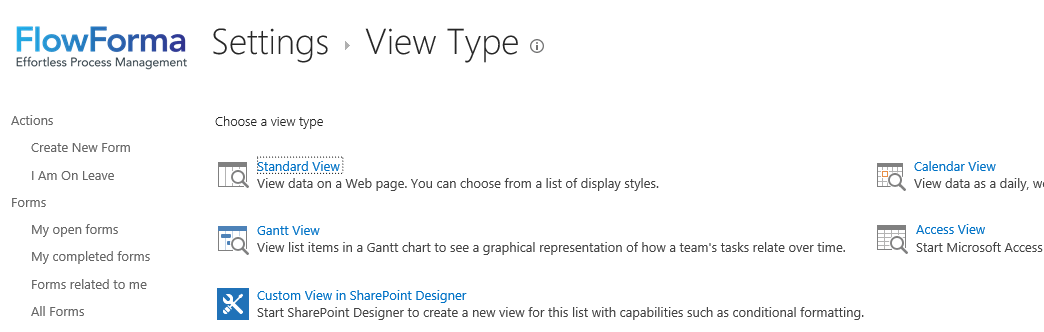
- Go to the top ribbon and click create view under the list tab.
- Select stardard view.
- Add a new name to your view and select create a personal view under view audience.
- Select show all items in this view or select the filters that you want. For instance, where flow title is equal to the process name.
- Click OK to save the changes.